Malware analysis is the practice of dissecting hostile code to understand its behavior, extract indicators, and map its failure modes. On this blog, that usually means pulling firmware off locked-down baseband chips or glitching a secure enclave until it spills its boot ROM. But the same discipline applies to userland binaries, kernel drivers, and UEFI modules. The core problem is always the same: you want to observe the thing without becoming part of its execution environment. If you let a sample run on your daily driver because you were too lazy to set up a proper lab, you have not analyzed malware. You have donated a machine to someone else’s botnet.
This article is about the practical isolation layer: hypervisors, network segmentation, snapshot discipline, and the unglamorous work of keeping a sample from phoning home while you stare at its strings. It is aimed at people who already know what a syscall is and have probably bricked at least one development board. If you are looking for a five-step guide to running random executables in a VM and calling it a day, this is not that.

Why Your VM Is Not a Sandbox
The default advice is to throw malware into VirtualBox or VMware and hope for the best. That is fine for commodity crimeware that does not check for virtualization. It is not fine for anything with a kernel component, a UEFI bootkit, or a passing interest in your hypervisor’s attack surface. Modern hypervisors are enormous C and C++ codebases with a long history of guest-to-host escapes. Treating them as a security boundary is like treating a baseband chip as a trusted coprocessor: the vendor says it is isolated, but the vendor also shipped a debug interface that responds to magic bytes over USB.
If you are analyzing something that might be targeted or state-adjacent, use a dedicated physical machine with no microphone, no camera, no Bluetooth, and no Wi-Fi. Air-gap it. Then treat the air gap as a suggestion, not a guarantee. Malware has exfiltrated data over speaker-to-microphone channels, thermal sensors, and even the blinking of hard drive LEDs. The point is not to build a perfect Faraday cage. The point is to make exfiltration expensive enough that the sample falls back to boring behavior you can observe.
Lab Architecture That Does Not Lie to You
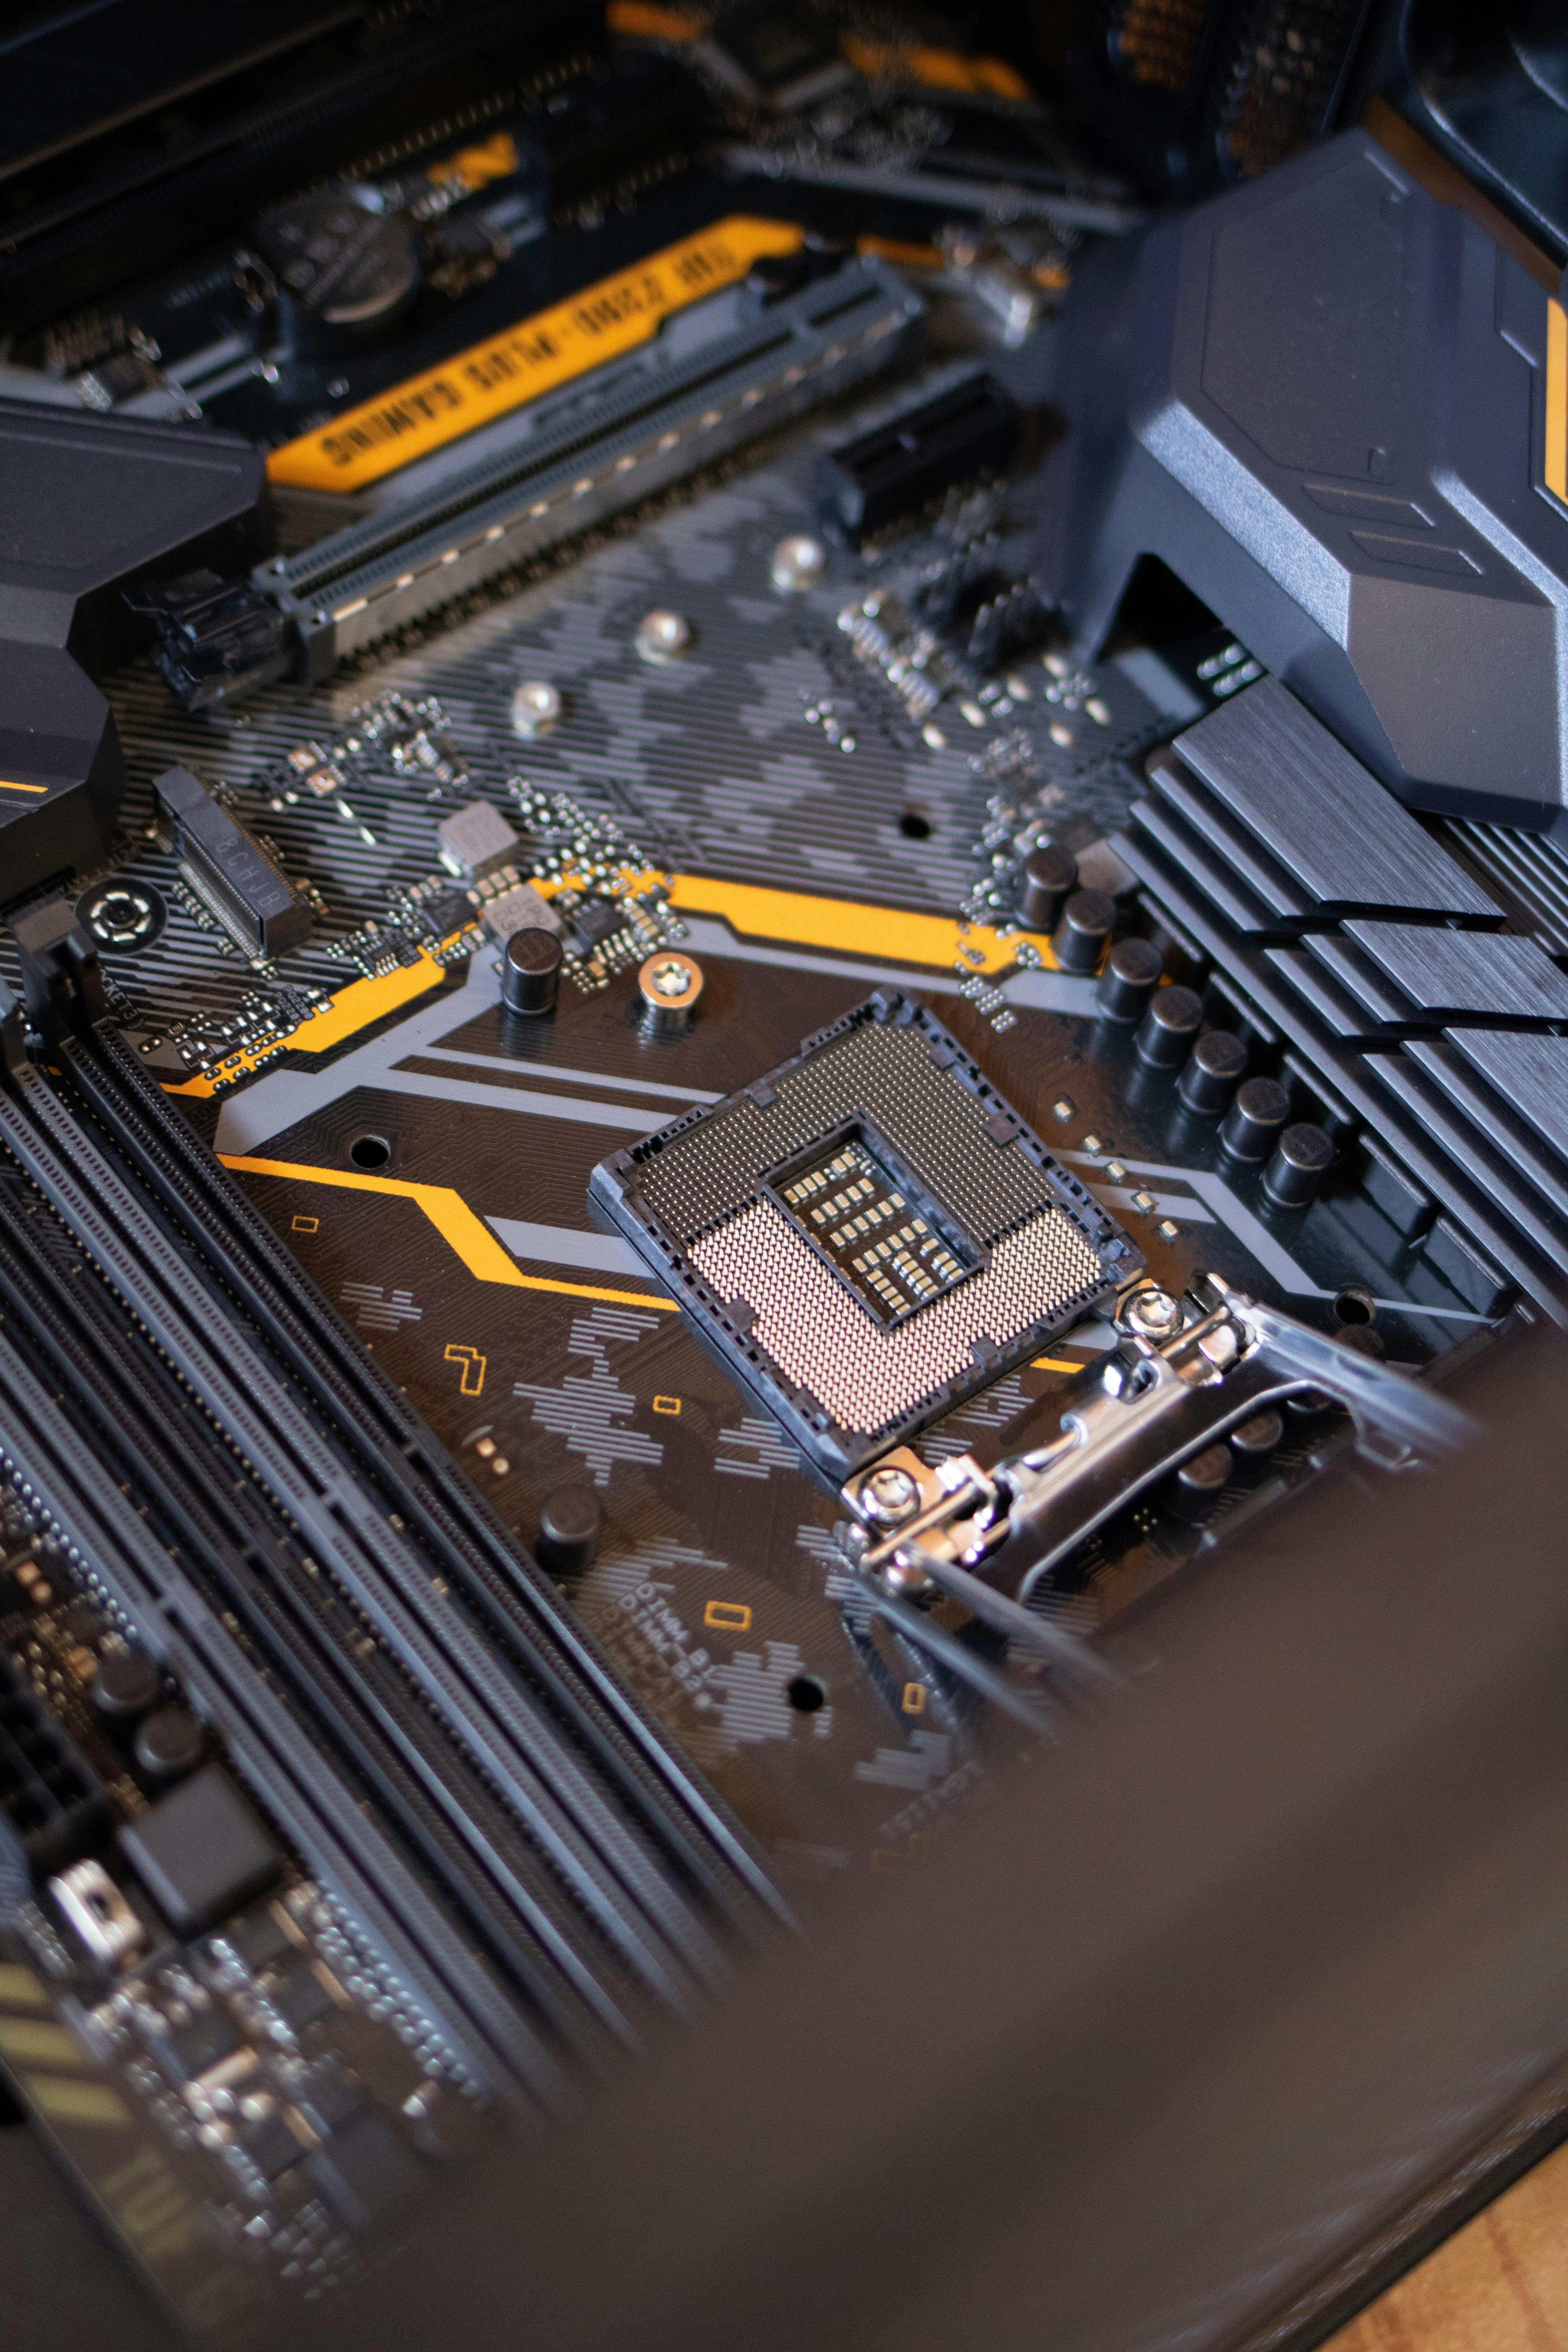
My standard setup is a two-machine arrangement. The first machine is the analysis host: a Linux box with a pile of RAM, a CPU that supports nested virtualization, and no network interface except a dedicated management NIC. The second machine is the detonation host: a bare-metal system that can be reimaged from a known-good disk image in under five minutes. Between them sits a managed switch with port mirroring, or a cheap network tap if you are not made of money.
The analysis host runs the hypervisor. The detonation host runs the sample. The switch mirrors all traffic from the detonation host to a capture interface on the analysis host. This gives you a clean, out-of-band view of network behavior. If the sample tries to detect a virtual NIC by checking the MAC address prefix, it will see a real Intel or Realtek MAC on the detonation host. If it tries to detect a hypervisor by timing CPUID leaves, it will see bare metal. You have removed two of the most common anti-analysis checks without writing a single line of code.
Snapshot Discipline
Snapshots are not backups. A snapshot is a point-in-time copy of a disk image that you can roll back to. A backup is a copy that lives on a different physical medium and survives the destruction of the original. If your malware sample encrypts the disk and then deletes the snapshot file, you have neither. Keep your known-good images on a separate drive, ideally a read-only one. I use a small NAS with a write-protect switch. It is not elegant, but it works.
Before you run anything, take a full disk image of the detonation host. After you run it, take another. Diff the two. The diff will show you what the sample touched, what it created, and what it deleted. This is the cheapest behavioral analysis you can do, and it catches things that dynamic analysis tools miss because they are not watching the right syscalls.
Network Isolation That Actually Isolates
The standard advice is to use a host-only network in your hypervisor. That is fine for samples that do not try to escape. It is not fine for samples that use DNS exfiltration, because your host-only network still has a DNS resolver if you configured one. It is not fine for samples that use ICMP tunneling, because ICMP does not care about your firewall rules if you forgot to block it. And it is not fine for samples that use raw sockets to craft packets your hypervisor’s virtual switch will happily forward.
My rule is simple: the detonation host gets a physical Ethernet cable to a switch port that is VLAN-isolated from everything else. The switch port has no default gateway, no DNS, and no DHCP. The only other device on that VLAN is the capture interface on the analysis host, which runs in promiscuous mode and never sends a single packet. If the sample wants to phone home, it has to do so through a network that does not exist. If it wants to exfiltrate data, it has to do so through a channel I am not monitoring, which is a much harder problem.
DNS and the Art of Lying to Malware
Some samples will not run without a DNS lookup. They resolve a command-and-control domain, and if the lookup fails, they exit. The standard trick is to run a fake DNS server that responds to every query with the IP address of your analysis host. Then you run a fake HTTP server, a fake IRC server, and a fake everything else on that IP. The sample thinks it has reached its C2. You have reached a Python script that logs every byte it sends.
This is not a new technique. It is also not a substitute for real network isolation. If your fake DNS server is on the same host as your malware, and the malware escapes the VM, it can reach the real internet through your host’s default route. Keep the fake services on the analysis host, keep the analysis host off the internet, and keep the detonation host on a VLAN that cannot reach anything else. Then you can lie to malware with a clear conscience.
Dynamic Analysis Without Shooting Yourself in the Foot
Once the lab is set up, the actual analysis is mostly boring. You run the sample, you watch what it does, and you write down the parts that surprise you. The tools are the usual suspects: Process Monitor on Windows, strace and ltrace on Linux, Wireshark on the capture interface, and a debugger for when you need to step through the interesting parts. The key is to use them in a way that does not alter the sample’s behavior.
Debuggers are the worst offenders. A debugger changes timing, memory layout, and the values of certain CPU registers. Malware checks for debuggers by reading the BeingDebugged flag in the PEB, by timing the execution of certain instructions, and by looking for the presence of debugger-specific artifacts in memory. If you attach a debugger to a sample that is checking for debuggers, you will see the anti-debugging path, not the real behavior. Sometimes that is what you want. Usually it is not.
My preference is to start with passive observation. Run the sample, capture its syscalls, capture its network traffic, and capture its file system changes. Then, if the passive data is not enough, move to active instrumentation. Use a hypervisor-based tracer that runs below the OS, not a debugger that runs inside it. Use hardware breakpoints instead of software breakpoints. Use a custom emulator if you have one, because emulators give you total control over the execution environment and do not care about anti-debugging tricks. This is the same reason I use emulation for firmware extraction: when the hardware lies to you, you stop trusting the hardware.
Fault Injection as an Analysis Tool
This is where the blog’s usual subject matter bleeds into malware analysis. Fault injection is not just for bypassing secure boot or extracting firmware from a locked-down SEP. It is also a way to force a malware sample down a code path it would normally avoid. Glitch the voltage rail at the right moment, and the sample’s anti-analysis check fails open. The sample continues executing as if the debugger were not there. You get to see the real payload without fighting the anti-debugging code.
This is not a beginner technique. It requires hardware that can deliver precise voltage or clock glitches, and it requires a target that is vulnerable to them. But if you are already doing fault injection on embedded devices, the same tools work on a laptop running malware. The sample does not know it is being glitched. It just sees a world where its checks sometimes fail for no reason. That is a world where you can learn things.
Static Analysis: The Part That Does Not Infect You
Static analysis is the safest form of malware analysis because you never execute the sample. You read its bytes, you disassemble its code, and you reason about what it would do if it ran. This is also the hardest form of analysis, because modern malware is packed, obfuscated, and full of dead code designed to waste your time. The packer is the first problem. The obfuscator is the second. The dead code is the third. None of them are impossible to deal with, but they all require patience.
My static analysis workflow starts with file and strings, because even the most sophisticated packer leaves traces. Then I move to a disassembler. I prefer Ghidra for most things, because it handles ARM64 and x86-64 equally well and does not cost a fortune. For firmware images, I use the same tools I use for baseband extraction: binwalk to find the filesystem, then a custom loader to map the image into memory at the right addresses. The disassembler is only as good as the memory map you give it.
The goal of static analysis is not to understand every instruction. The goal is to find the interesting parts: the decryption routines, the network callbacks, the anti-analysis checks, and the code that writes to unusual memory locations. Once you have found those, you can decide whether to run the sample dynamically, emulate it, or just read the rest of the code. Most of the time, reading the code is enough. The sample is not magic. It is just a program that does not want to be read.

Common Mistakes That Get People Infected
The most common mistake is running malware on a machine that has access to anything you care about. This includes your personal email, your password manager, your SSH keys, and your browser history. If you are analyzing malware on the same machine you use to check your bank balance, you have already lost. The second most common mistake is trusting a VM to contain a sample that was designed to escape VMs. The third is forgetting to disable shared folders, clipboard sharing, and drag-and-drop between the guest and the host. Those features are convenience, not security. Malware authors know this.
Another mistake is assuming that a sample is safe because it is old. Old malware is not safe. Old malware is just old. It may have been written for Windows XP, but it can still encrypt your files or steal your credentials if you run it on Windows 11. The only safe sample is one that has been fully analyzed and understood. Until then, treat every sample as if it were written specifically to ruin your day.
FAQ
Can I analyze malware safely in a virtual machine?
For most commodity samples, yes. For targeted or kernel-level samples, no. A VM is a software abstraction, and abstractions leak. If the sample checks for virtualization and changes its behavior, you will see the wrong behavior. If the sample exploits a hypervisor vulnerability, you will see your host machine reboot. Use a VM for triage, but do not confuse it with a security boundary.
What is the safest way to run a suspicious file?
The safest way is not to run it at all. Do static analysis first. If you must run it, use a dedicated physical machine with no network access, no sensitive data, and a disk image you can restore in minutes. Capture its behavior out-of-band, and assume that anything on that machine is compromised the moment the sample starts executing.
How do I prevent malware from detecting my analysis environment?
You cannot prevent detection entirely. You can only make detection harder. Use bare metal instead of a VM. Use a real network card instead of a virtual one. Do not install analysis tools on the detonation host. Do not run the sample under a debugger unless you have to. And accept that some samples will refuse to run in any environment that is not a real victim machine. That is useful information too.
What should I do if I accidentally run malware on my main machine?
Assume the machine is compromised. Disconnect it from the network immediately. Do not log into any accounts from it. Do not plug in any USB drives. Reimage the disk from a known-good backup, or wipe it and reinstall the OS. Then change every password that was stored on that machine, because the sample may have exfiltrated them before you pulled the plug.
Next Steps for This Blog
This article is the first in a series on malware analysis for hardware-minded people. The next one will cover building a custom emulator for firmware samples, using the same techniques I use for baseband extraction. After that, I will write about fault injection on x86-64 targets, because the tools are cheaper than you think and the results are more interesting than the vendors want you to believe. If you have a question about a specific setup, send it in. I read everything, even the ones that call me paranoid.
